

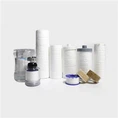
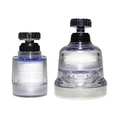
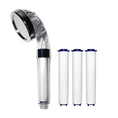
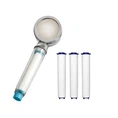
Removing a faucet filter is a simple and straightforward process that can be done in just a few steps. Here's how to do it:
1. Locate the filter: Start by identifying where the filter is located on your faucet. It is usually found at the tip of the faucet, where the water comes out.
2. Turn off the water: Before removing the filter, make sure to turn off the water supply to the faucet. This will prevent any water from leaking out while you work on removing the filter.
3. Remove the filter: Depending on the type of faucet filter you have, you may need to twist it off by hand or use a wrench to loosen it. Carefully unscrew the filter in a counter-clockwise direction until it comes off.
4. Clean the filter: Once the filter is removed, it's a good idea to clean it before reinstalling it or replacing it with a new one. Use warm, soapy water to wash away any dirt or debris that may have built up on the filter.
5. Reinstall or replace the filter: After cleaning the filter, simply screw it back onto the faucet in a clockwise direction. Make sure it is securely fastened to prevent any leaks.
6. Turn the water back on: Once the filter is back in place, turn the water supply back on and test the faucet to ensure that everything is working properly.
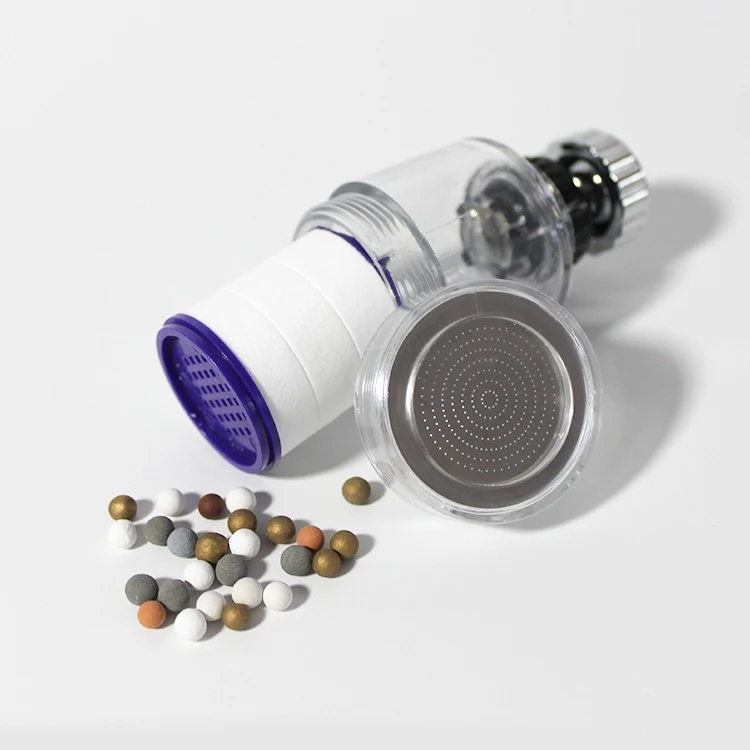
Removing a faucet filter is a quick and easy task that can help improve the water flow and quality in your home. By following these steps, you can successfully remove and clean your faucet filter in no time.
https://www.angefilter.com/